Monday, February 28, 2011

Hot Rod Update February 23, 2011


We spent this afternoon picking up the body and various parts from the paint shop. It’s been cold and windy this week so we decided to take the cargo trailer to pick up the painted parts.


360 Fabrication has done a wonderful job on the paint. Rick Francoeur, the owner called me at the final stage and suggested I get them to do an additional Wet-sanding and Clear coat; it helps take away any appearance that there’s fiberglass under the paint. I personally can’t believe the workmanship, no wonder these guys get the highest ratings from BASF and Chip Foose. Now that I see the end result I’m happy that I paid the extra. It took Rick’s men an additional day to do the work plus buffing and polishing - I believe its show quality!

Rick & Daryl Francoeur, Owners of 360 Fabrications, Abbotsford BC


The other element that really excites us is our company logo. We had it air- brushed so it’s under the clear-coat making it easy to wax and polish; not like a decal that interferes with polishing. 
We spend considerable time designing a retro logo that incorporated our Copyrighted name Cap-it®.  Our current red square logo just wouldn’t do the Bucket justice. So we used our current style Cap-it font but incorporated it in a 1920’s style look; typical of one used in those days.

The criteria was:
  • It had to look old, retro 1920’s & faded
  • It had to show our current logo font so our customers would recognize that its Cap-it®
  • It  had to suit the T-Bucket without looking out of place

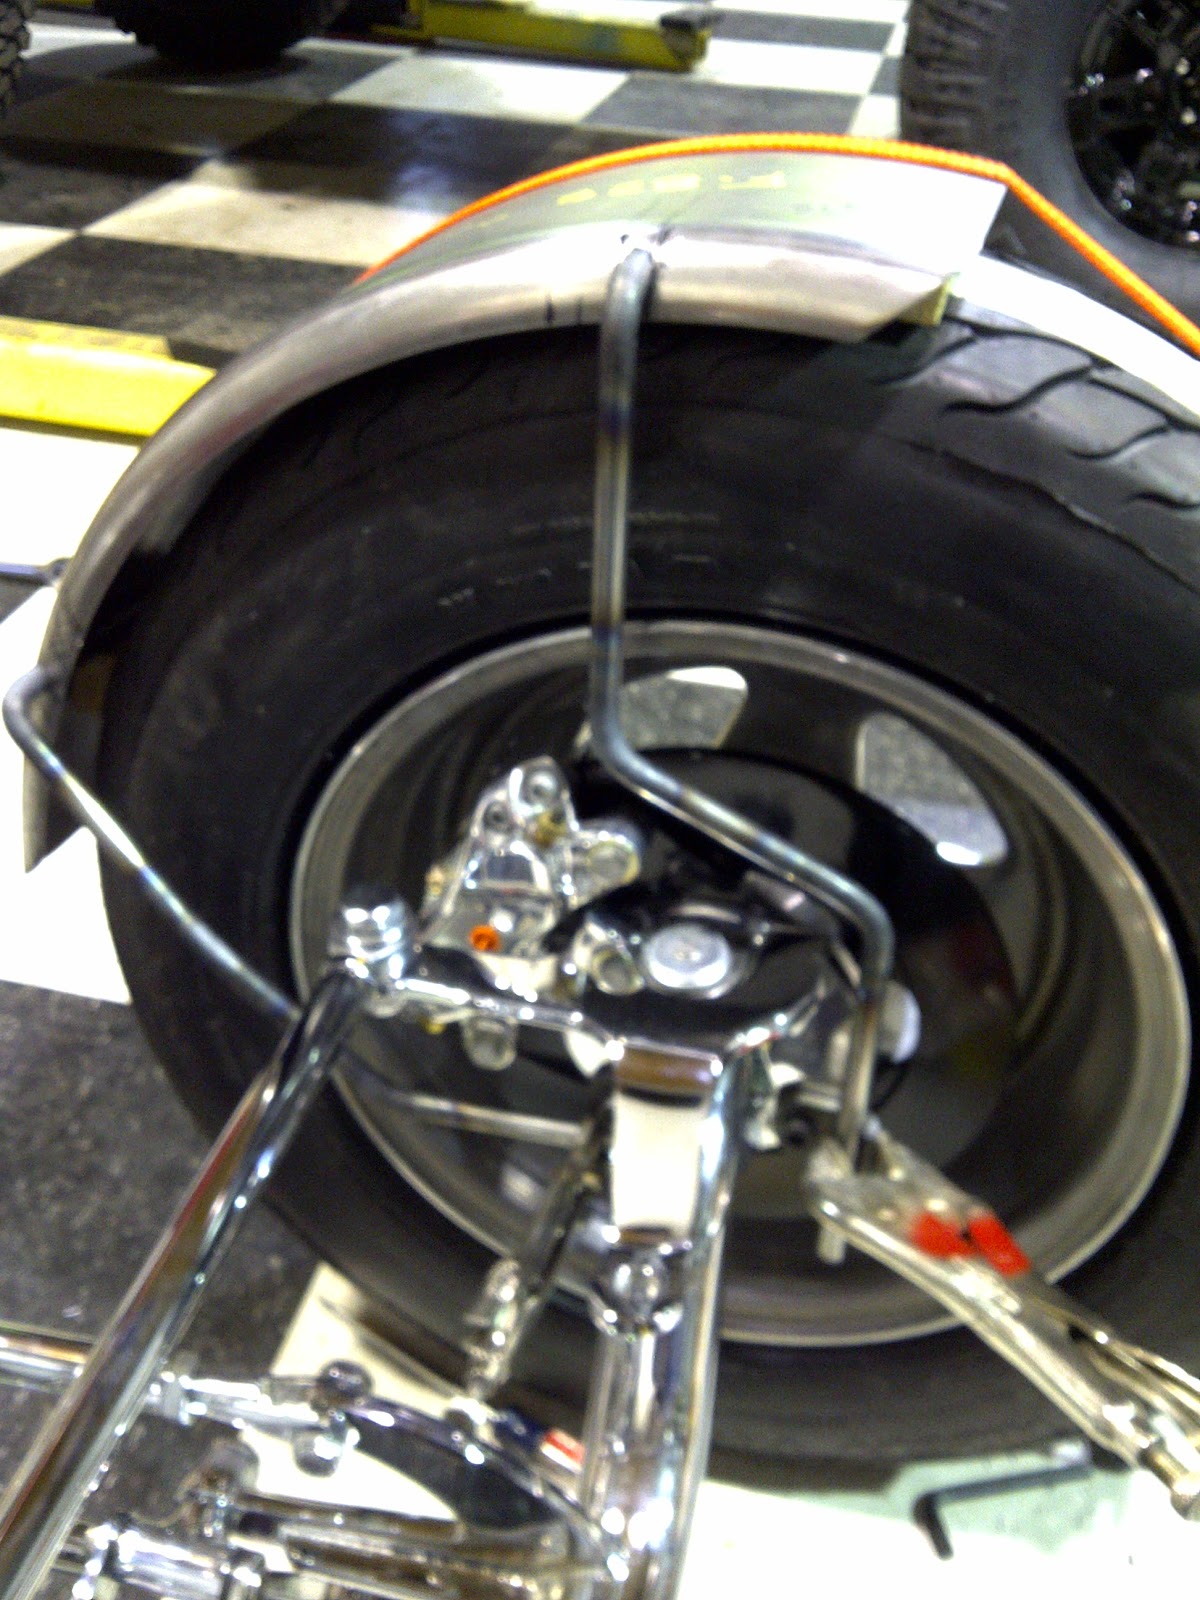
Back to the final assembly on the frame - We have just installed the rear axle, shocks and radius rods. Were getting it ready for tomorrow, we plan on installing the 4:11 Third member, axles, brakes and mounting the tires. We want to have a rolling chassis as soon as possible.


Take a look at the Firewall, it’s painted – we made plans from the beginning - we wanted a polished aluminum firewall. The one thing we have to watch for now is that we don’t scratch the paint while installing it.


The shiny Firewall might not look good on its own but wait till you see it the when it’s behind the engine. We’ll get that clean bright look; again separating our selves from other T-Buckets.


The engine is being put in place with minor adjustments


Installing the final Lokar shifting linkage to the C4 automatic transmission - The directions in the Lokar kit were just awful – we couldn’t believe the poor job a they did, and that’s why it took us hours to figure it out.


Monday, February 21, 2011

Final Assembly of the T-Bucket begins

The pre fitting is all done and we’re ready to take it apart once again


The pre fitting is all done now, the engine is in its final resting place, fenders are on and sitting as we had designed, everything has past our inspection before we take it to paint.
  • It took three months for the frame and body to be built
  • It took us one and a half months of pre fitting and assembly of the Rod
  • And now it’s only taken us four hours to unassembled it. 
almost assembled
The frame is back from the paint shop and our 1966 Ford Mustang Rangoon Red is exactly what we wanted. We chose the unit to be clear coated as well. There’s just enough orange in the red to give it that fun car appearance. In my mind T- Buckets get all the looks at any car show - just watch the crowds and you‘ll see for yourself. I prefer bright colours to get the attention.


The Final assembly now begins - WOW what great fun, we’ve been waiting for this day for some time now. We were careful to wrap the jack stands with felt and foam sheets as to avoid damage to the fresh paint.


Notice we decided to paint the frame instead of Powder Coating. Even though Powder Coating cost less it doesn’t take care of the welds like paint does. There is a lot of work filling the welds and corners to get that plastic-like look we wanted – you could say its show quality.


The T-Bucket has an exposed frame so if you want it to look great I think paint is the way to go – especially if you want to have the paint colour match perfectly with the body. The Powder Coating people would not guarantee the colour match.


Up until now it’s been installing, take off, refit, install again and so on. It’s exciting to finally begin bolting parts to the frame permanently, and of coarse every nut has to have Loctite, after all we are building a reliable vehicle and don’t want things to fall off or get loose. I did however find out that red Loctite is for engine parts (heat sensitive) and the blue is most everything else so off we go again to the parts store to get it. Remember if you’re using red Loctite you’re going to have to use a heat gun to remove the bolt unlike the blue.

Installing the Master Cylinder
Installing the brake lines and attaching it to the frame – holes are already pre-drilled and fitted
Next we install the chrome front end – we still have a problem to overcome and here and that is establishing where the shock is to be mounted on the shackle – will keep you posted.


Installing the chrome transmission mount
Transmission mount is in place and to the right you’ll see the chrome brake pedal mounted next to the master cylinder.


Here we are installing the Transmission cooling unit and positioning it beside the transmission well hidden from view. There’s no room on the radiator of a T-Bucket – it’s got to be hidden some place so might as well be here tucked under the frame.


We’ve got the shop rigged with production lighting so we can film the entire build.
The body arrives in a few days so hopefully we’ll have all the necessary parts installed on the frame by then.

Friday, February 11, 2011

Hot Rod Update Feb 10 2011

Designing brackets that actually look professional, brackets that are pleasant to look at, strong enough to work well and not vibrate when driving down the road.


We didn’t want that strap iron look that so many have used for fender supports so we used round stock to get that retro look.

We chose 5/8” cold rolled steel for the rear support arms and ½” for the front fenders – both fenders are totally removable. Fenders are the Law in BC


First we had to buy a Mig Welder, model 211 Miller to handle the light weight 16 gauge fenders. The welder was awesome.


Welding two fenders together to accommodate for the 18” wide rear tires


Front fender supports – making sure that they are level


Welding the bracket mounts to the rear axle


We’re now ready to disassemble the Rod, catalog all the parts and get it ready for paint – Rick at 360 Fabrication in Abbotsford will be doing the Paint work and air brushing. 360 Fabrication have won many awards for their professional workmanship. We’re happy they are involved with the finishing touches.


Next on our up date you will see the beginning of the total Rod assembly. We’ve been looking forward to this for some time now.